TIPS & TRICKS FOR GETTING MORE FROM MOMOOK: SCHEDULING MODULE
We usually hear the phrase: “work smarter, not harder”. But also often wondering how to achieve it? Just to be well organized? Being organized saves tons of time, but in our “go, go, go world” being technologically advanced is more than beneficial.
Many aviation training centers struggle with the challenge of utilizing its resources to full capacity. For example, the aviation training center has around 50 classrooms and 20 flight training devices located in the different training centers worldwide. Running your business 24/7/365 and challenging constant changes, make it more problematic than ever to manage all these resources manually, and respond to changes as quick as possible. It takes too much time and effort to handle it. So at the end of the day, you always take a risk of working not as efficiently as much as you could.
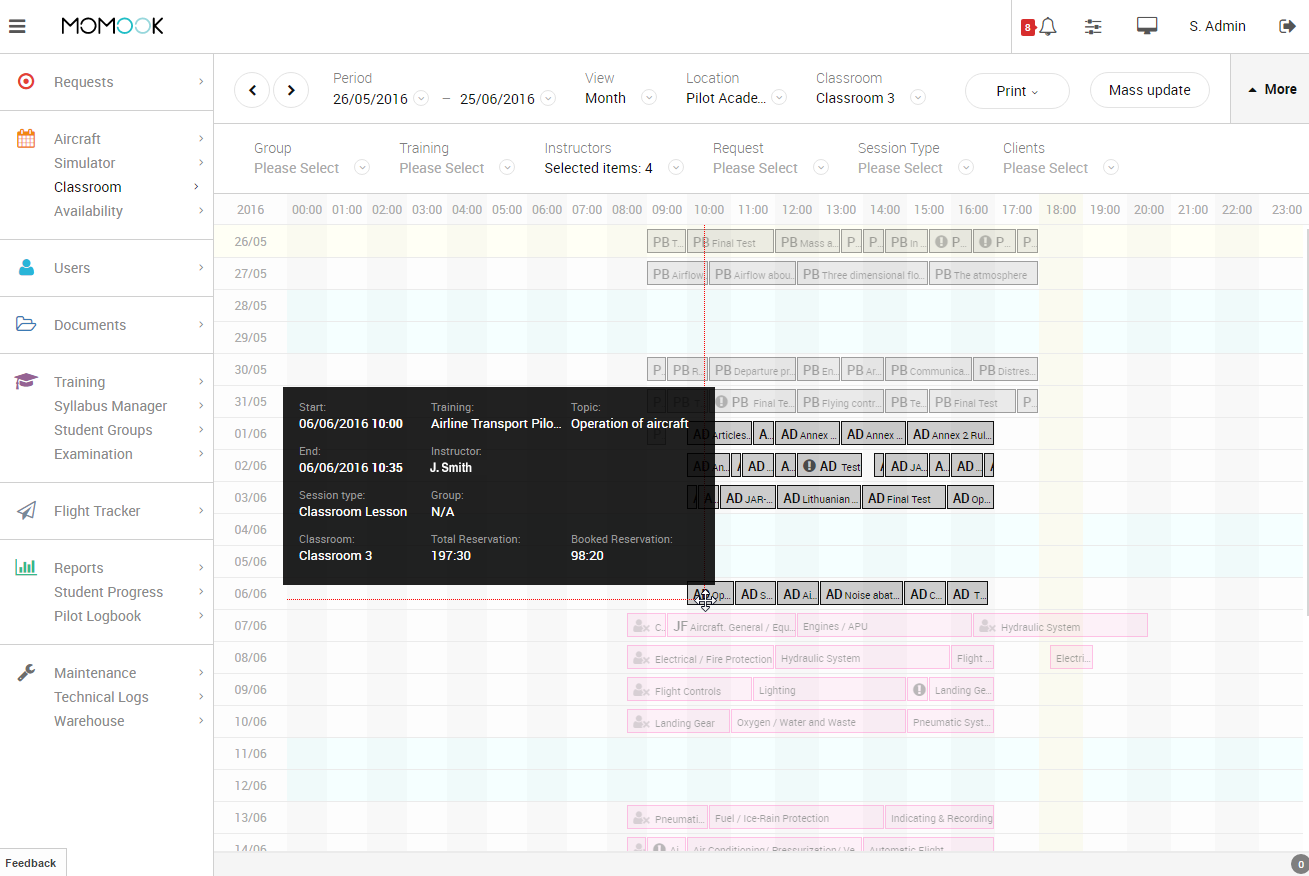
What’s why we’re here with an amazing tool in front of you. One of the easiest ways to manage your resources is Scheduling module within MOMook software. This is very handy! For example, in order to improve the visibility of aviation center resources, all users can use location filters. That allows schedules to be managed and filtered according to the location of the aviation center. When you manage your schedule, you just need to pick the needed location (or several locations), make the changes, and your schedule is already updated.
Remember – also, it is possible to choose multiple locations other filters like classrooms, instructors or other needed resources.
The rule of thumb in getting the most out of scheduling is to let others do you scheduling. These 5 steps will allow MOMook users, instructors, students, and even your clients, to make reservations within MOMook in real-time.
So steps to follow:
1. Divide and conquer – create the user roles
Users and their roles are a crucial part of role-based access control (RBAC) in MOMook. By having multiple roles per user, in conjunction with unlimited number of users RBAC, makes management very flexible. But wait, does flexibility means complexity and hard to work with? Absolutely not, just imagine the roles as responsibilities, like you have in your organization.
To add or remove roles:
- Go to “System Settings”;
- Go to “User” manager;
- Select “Roles” section;
- In role list, you will see already existing ones;
- Click “Add” and fill all fields to create additional roles;
- To remove any existing role or the one just created, select it in the list and click “Remove”;
Simple, huh?
2. Playground rules – decide role permissions
Once roles are created, we need to set some borders, to protect your data or reduce actions user can perform.
This one is easy:
- Select “Role” you want to set permissions for;
- Select “Permissions” users will have once assigned to that role;
3. Invite everyone – add additional users
We have roles and we have the permissions set, right? Now it’s time to add users. MOMook has a few ways of doing this: for adding multiple users at once, importing is usually a smarter solution, but for a time being, we will go with the manual user creation.
Back to MOMook:
- Select “Users” section in the main navigation or in “System Settings”;
- Click “Add” and fill user information along with the roles you have created;
- Click “Change User Password” to enter new secret password for your user;
- Click “Save” and voila, you have created new user;
4. Be smart, make it easy – invite your clients
To make the most of the scheduling, let your clients do the planning by themselves. As with the users, you can have unlimited number of client profiles, so let’s create one and assign our new user as a member of their staff. This is required to enable users to act in the name of that client.
- Select “Clients” section;
- Click “Add” and fill known fields;
- Go to section “Staff”;
- Click “Add” and select newly created user as a staff member;
- Click “Save”;
5. Test it! Enjoy it!
Everything is prepared for you. Let’s check how it works by creating a few simulator sessions.
- Click “Logout” button to change user;
- Enter credentials of the user you created and click “Login”;
- Click “Simulators” in the main menu;
- Find available space for your reservation and double-click the calendar;
- Fill all fields and click “Save”;
- That’s it you have created simulator session in the name of your client;
Remember – your client will only see his session information; other client sessions will be displayed as reserved.
Thank you for your time! Now you would be a much more experienced user of MOMook. If you want to try MOMook, contact us.